Guide
- Covert
- Compress
- Download
- Record
- Edit
- How to Add and Adjust Subtitles to Videos
- How to Add and Apply Effects to Videos
- How to Add Image or Text as Watermark
- How to Adjust Built-in Background Noise
- How to Crop and Resize Videos
- How to fine-tune Videos based on Your Requirements
- How to Rotate and Flip Videos
- How to Trim video Fastly and Easily
How to Adjust Built-in Background Noise
Step 1Add the video file to process
Download and install the Aicoosoft video converter software for Windows on your desktop.
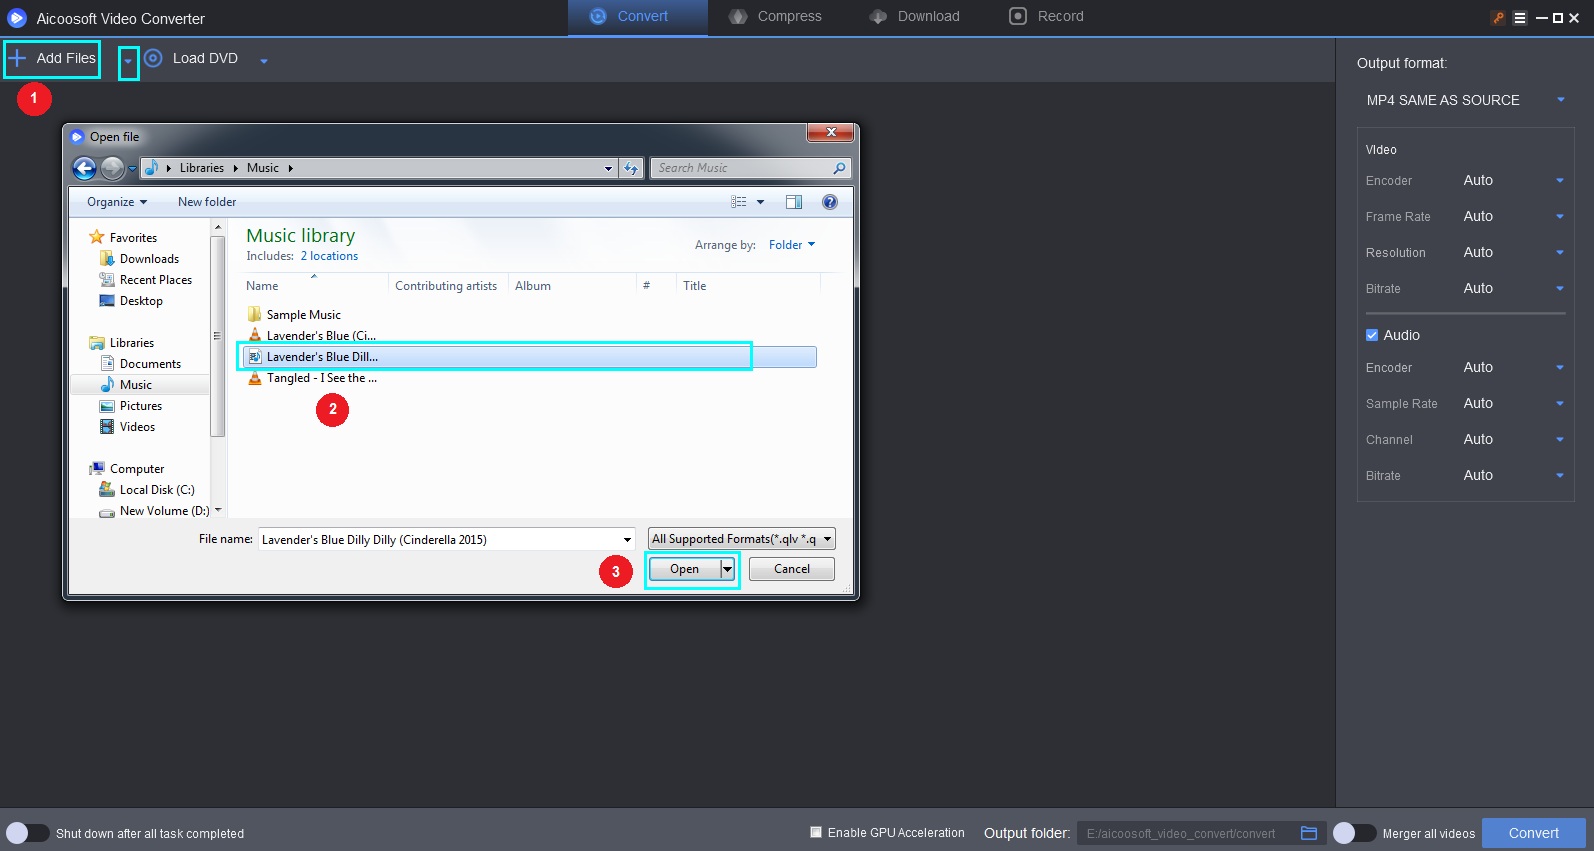
To start with, tap the “Add Files” option on the top that will let you add the files from the library. A drag-and-drop or the inverted triangle on the right side of the “Add Files” option can also accomplish adding the file.

Step 2Adjust the audio effects
Click the cut icon that you can find below the video. You will be directed to an interface unlike below from where you have to tap the “Audio” button.
On the right corner of the screen, various audio adjustment options like volume, noise level normalizer, a checklist for normalizing volume, and remover noise will appear that will let you do the change.

Step 3Remove noise or adjust the noise level
Tick the remover noise checkbox and adjust the noise level scale as per your need. I have ticked the normalized volume checkbox as well to increase the background volume.
Once you are satisfied with the adjustments, click on the “Apply” option, followed with the “Save and Close” button.

Step 4Convert, and access the edited video
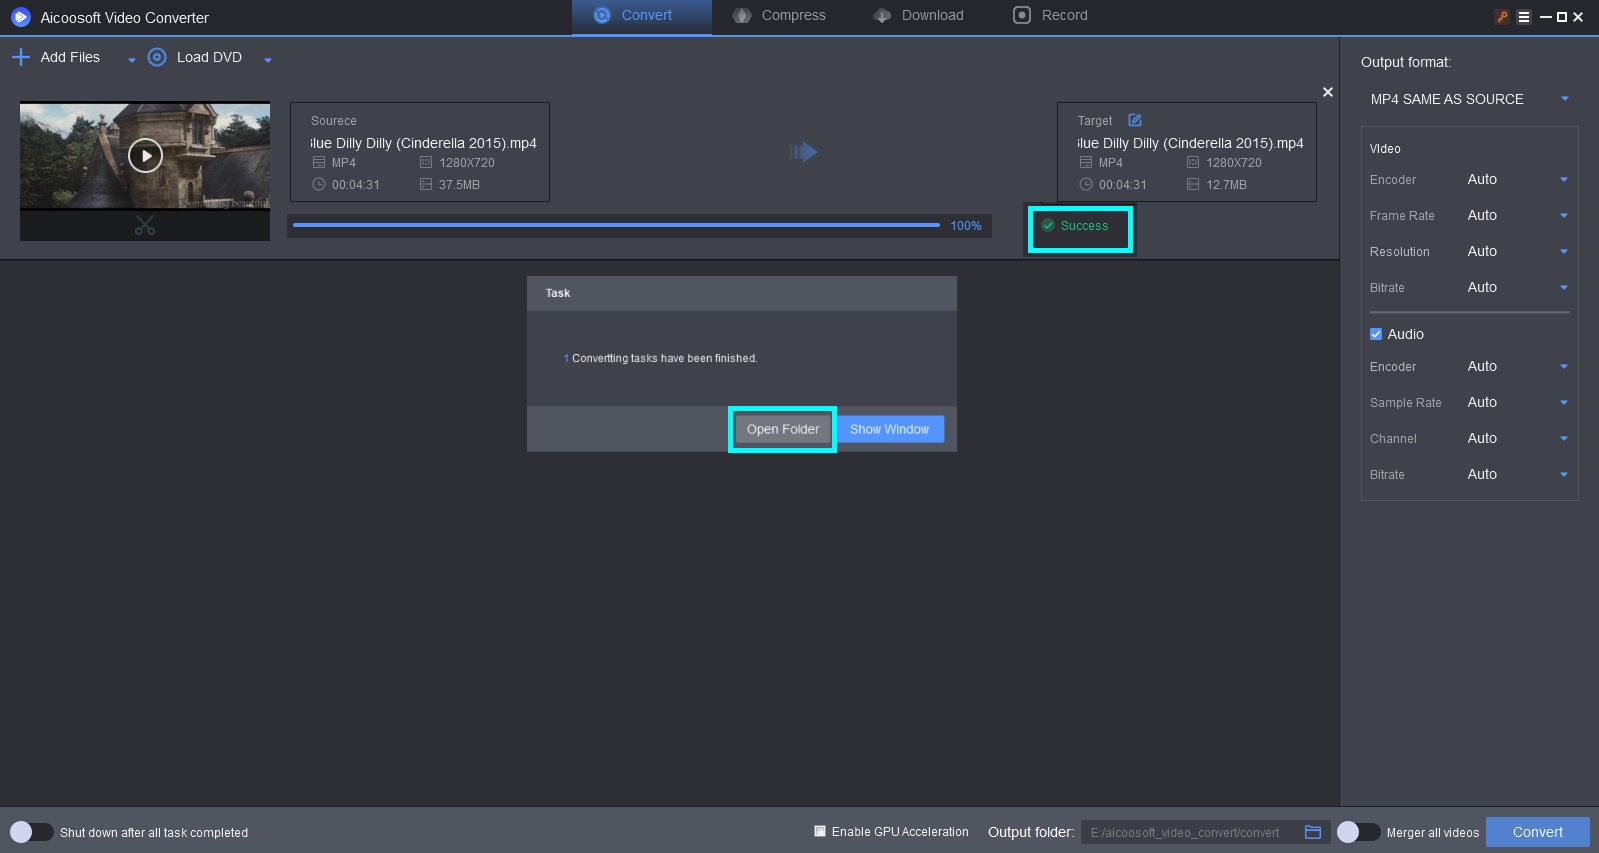
You are just a one-step ahead to complete the process. Tap the “Convert” button from the screen end while the video gets converted to mp4 format. After seconds, you will get a success notification for conversion followed with a pop-up from where clicking on the “Open Folder” will direct you to the saved file folder.


 English (United Kingdom)
  Français (France)
  日本語 (Japan)
  Deutsch (Deutschland)